This article on Screenden.com about Tella.tv includes multiple screenshots and visual assets from Tella.tv for the purpose of commentary and review. These images are used under the Fair Use doctrine, which permits the use of copyrighted material for purposes such as criticism, comment, news reporting, teaching, scholarship, or research. The use of Tella.tv’s visual content in this article does not imply any endorsement by or affiliation with Tella.tv, and all such visual assets remain the property of their respective owners.
In this writeup, I’m just going to give my thoughts as I go through and setup Tella Screen recording. (I spend a fair amount of time trying these tools myself, so I’d appreciate if you buy with my affiliate link: https://tella.tv/?via=lllll 🙂
Going into it, based on their homepage, I understand it as a Loom competitor, but with more of a focus on production quality. Not sure if that is accurate, just my impression.
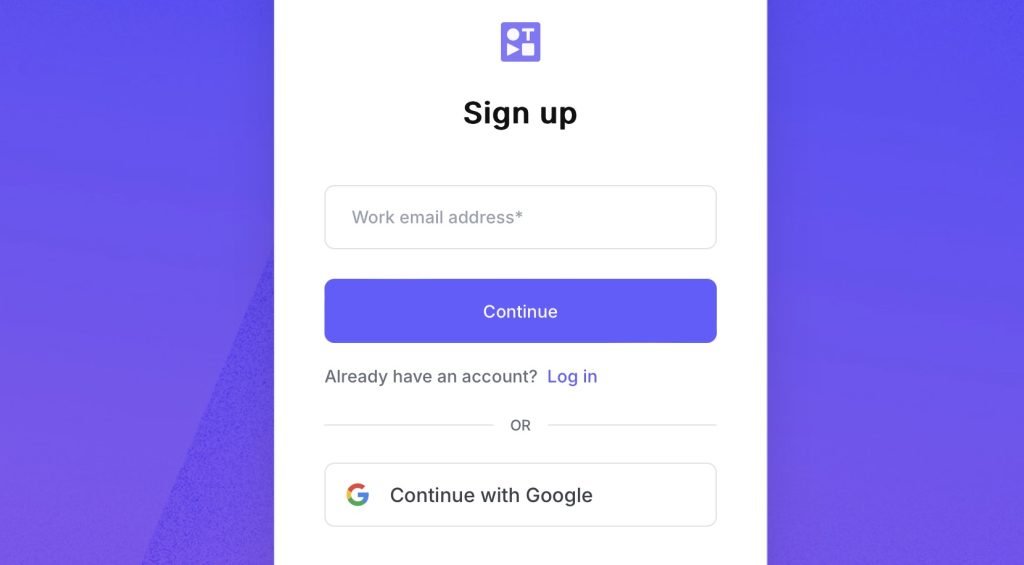
Let’s kick this thing off! The account signup process was fairly standard. They ask for a ‘Work Email Address’, but I gave a personal email with no issues. I think this seems like an effort to only get their ideal customer. (Business customers?)
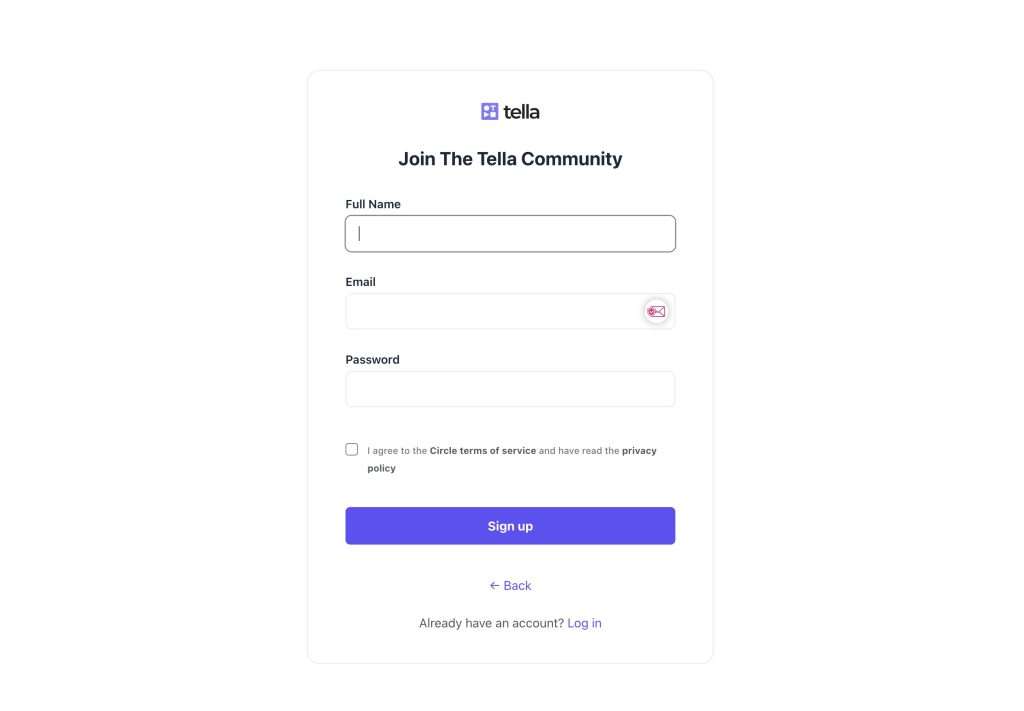
Adding account details, again, very standard:
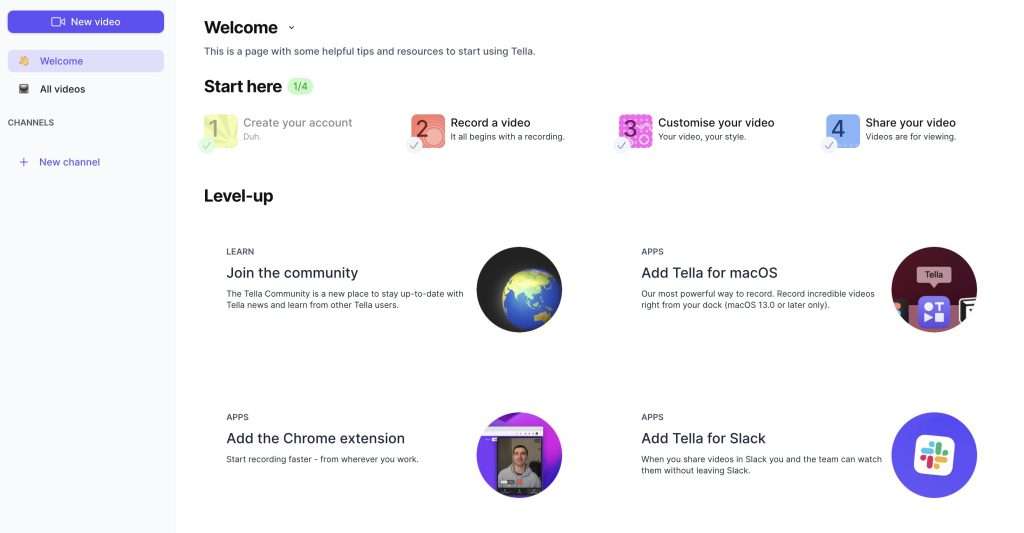
Before downloading, I got sent through the account settings page. This felt a bit confusing for me, I wasn’t sure if I needed to join a community, Slack, or add a Chrome and Mac app.
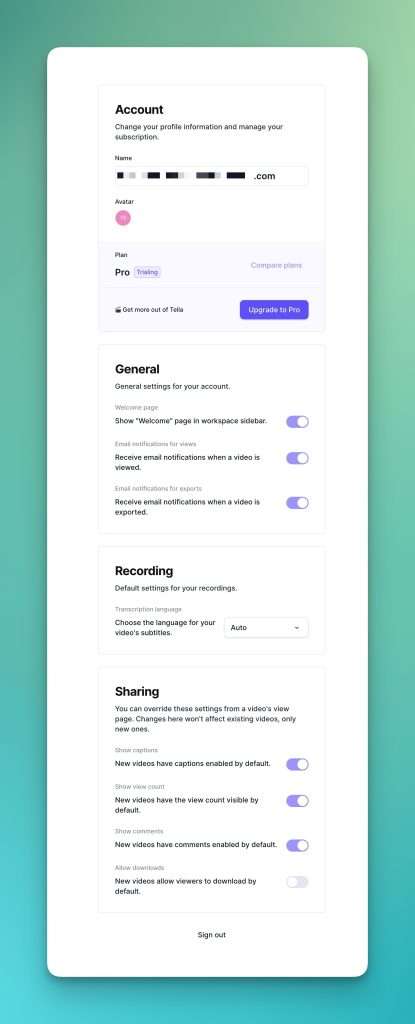
Since I was in this window, I ended up going into account settings before downloading to see if there were options like custom domains, view tracking, email collection, or anything else:
After clicking around on the pages above, when I landed on their MacOS download page, I loved the little animation here on the window. I tried to record it:
After watching this fun video, I downloaded the Mac app.
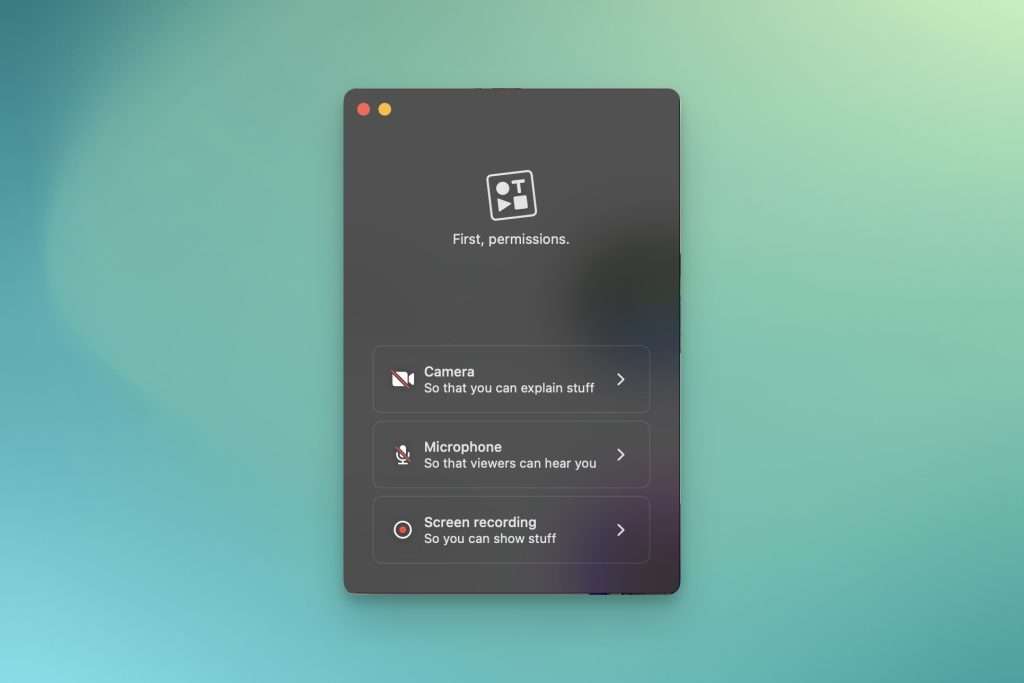
This is a standard screen in MacOS Screen Recording apps, but something they do differently that I appreciate, is they add screen recording permissions last.
Some other apps ask for this (screen recording) permission first, which forces you to restart the whole application process, and really disrupts the onboarding process.
After permissions are given, I get the signup/login page. I have seen other apps allow you to record before signing in, which I appreciated as a faster onboarding time. (But signing in after export is quite annoying on occasion.)
One small thing I noticed on this, is when I pressed login, it took me to Safari, rather than my default browser. This was a bit frustrating since my login details were saved in my default browser (Arc Browser). Not a huge thing for 99% of users, but disrupted my workflow since I wondered why I wasn’t ‘logged in’.
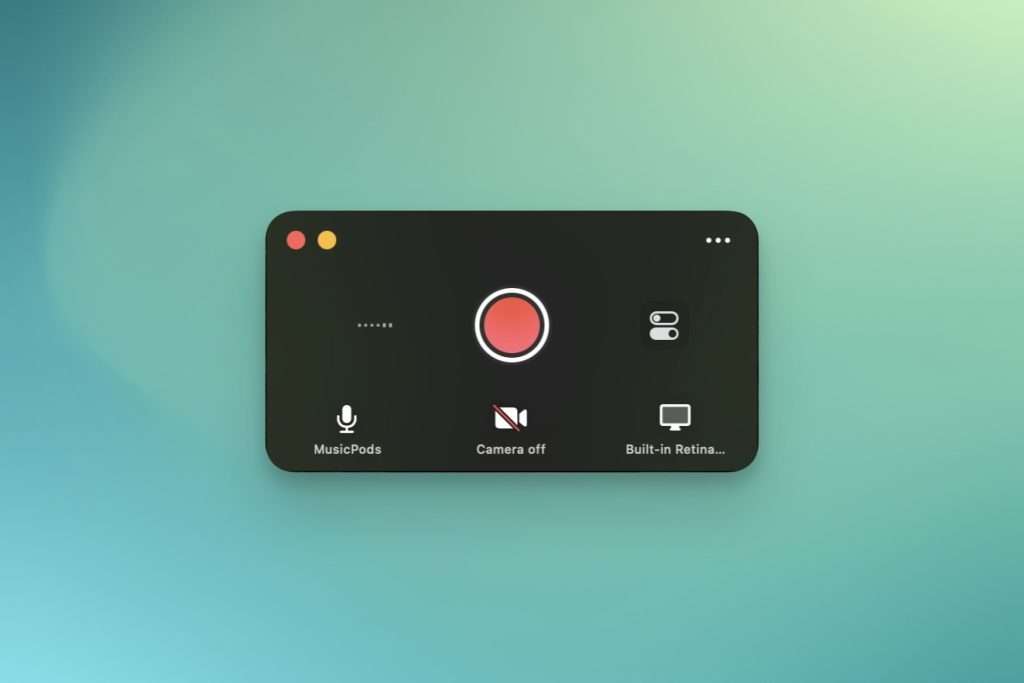
And we’re off to the races! Let’s record! 🙂 This small window pops up and it’s easy to just start recording. I prefer this interface compared with some other ones, it’s more compact and felt snappy.
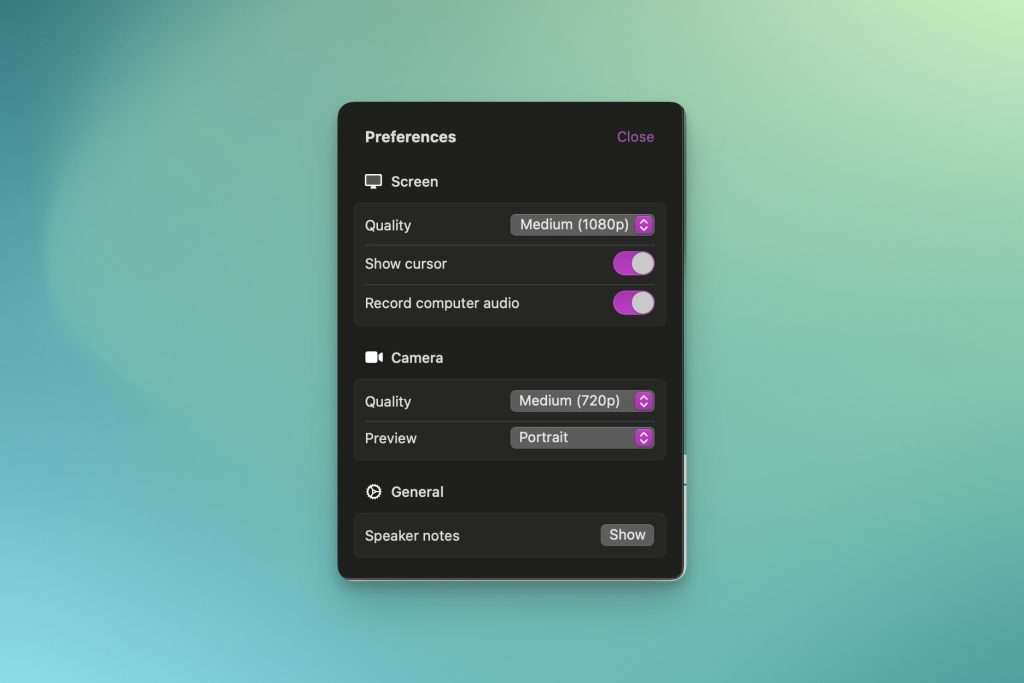
Clicking the little settings toggles brings this up, appreciate that this doesn’t feel weighted down with features. Just the important settings.
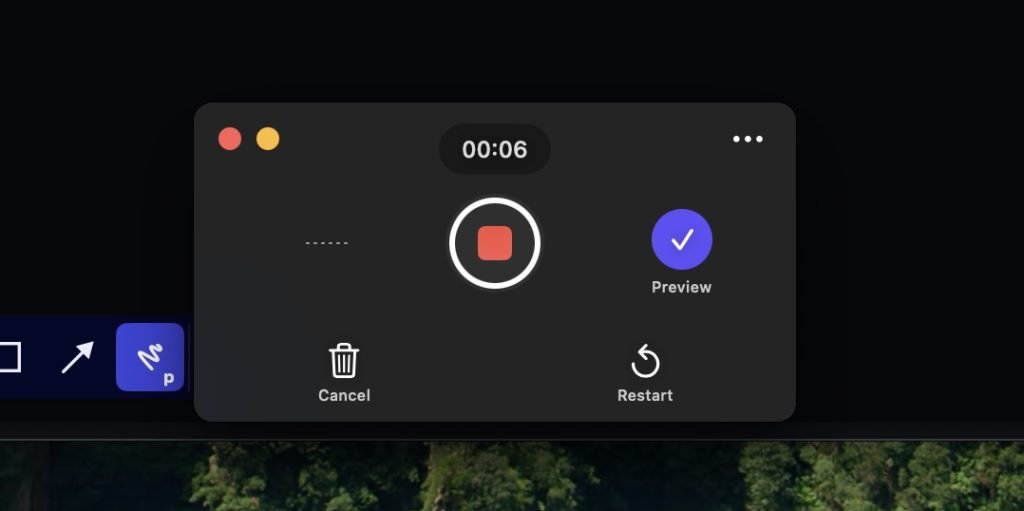
While recording, and after recording, you get a small UI change when the preview icon pops up. After recording, you just press it, and it opens a browser window (default browser this time), and you can edit your video and share it.
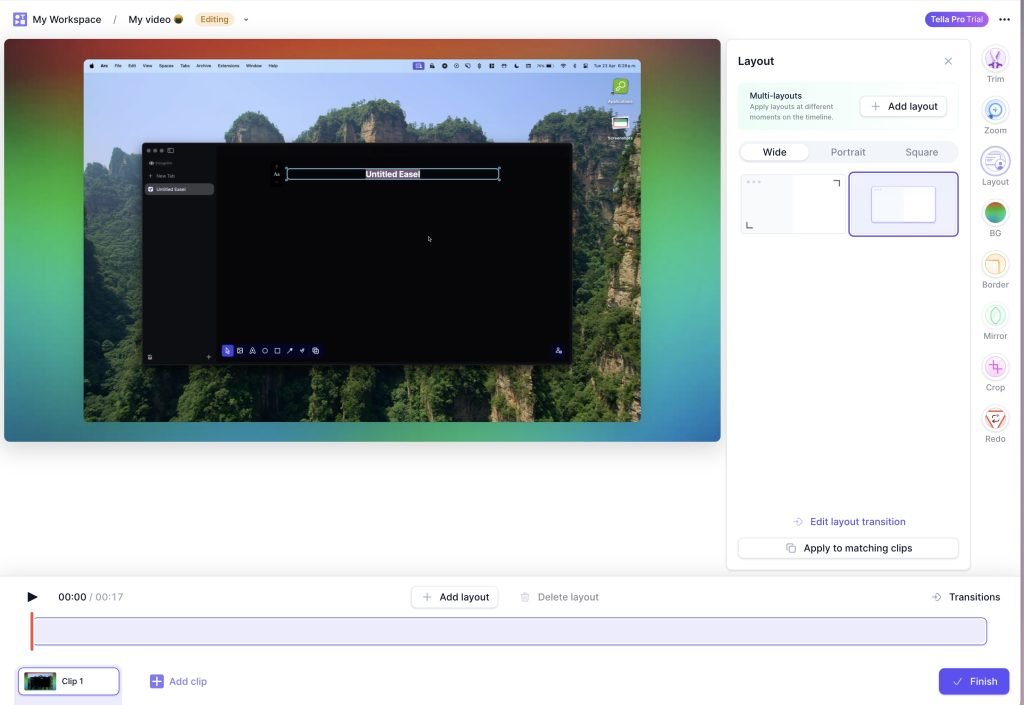
The online editing window felt like a lot to look at initially. It felt like a lot of features, and I wasn’t sure if my clip was split automatically. (See bottom left)
I didn’t really end up doing anything here other than swapping to portrait. It looks like it has some similar features to ScreenStudio or Focusee, with the zoom functionality.
After changing the layout, I hit finish and explored the rest of my options.
(I will say here, I LOVE that it has so many options compared to their competitor. It’d be a great alternative if you feel limited by other options and want more editing power.)
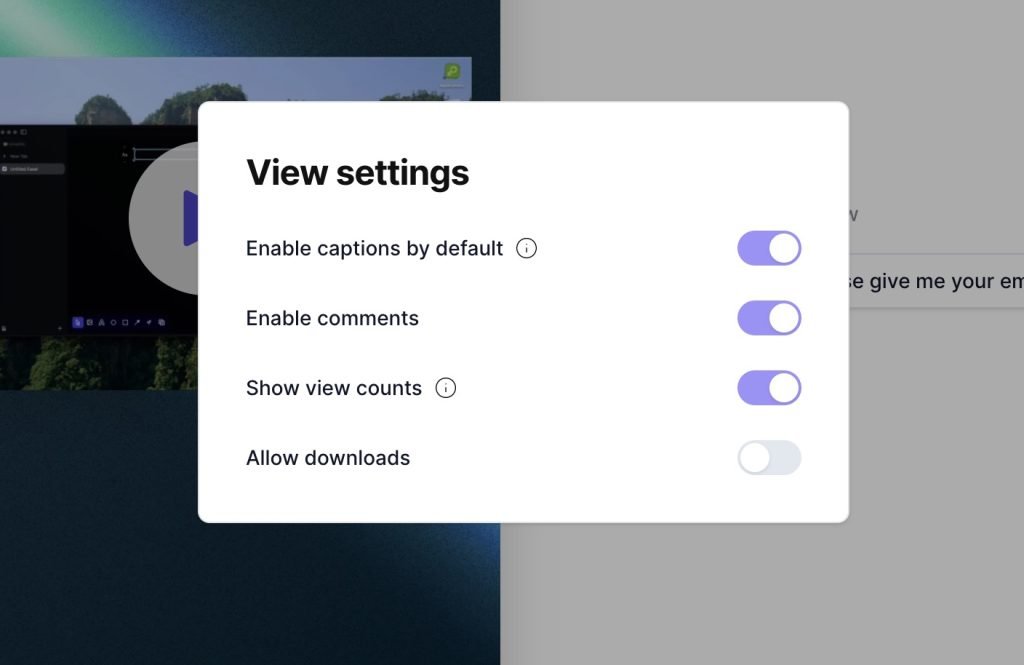
Here, I found I can have automatic captions (awesome), comments (cool) and view counts (sweet!).
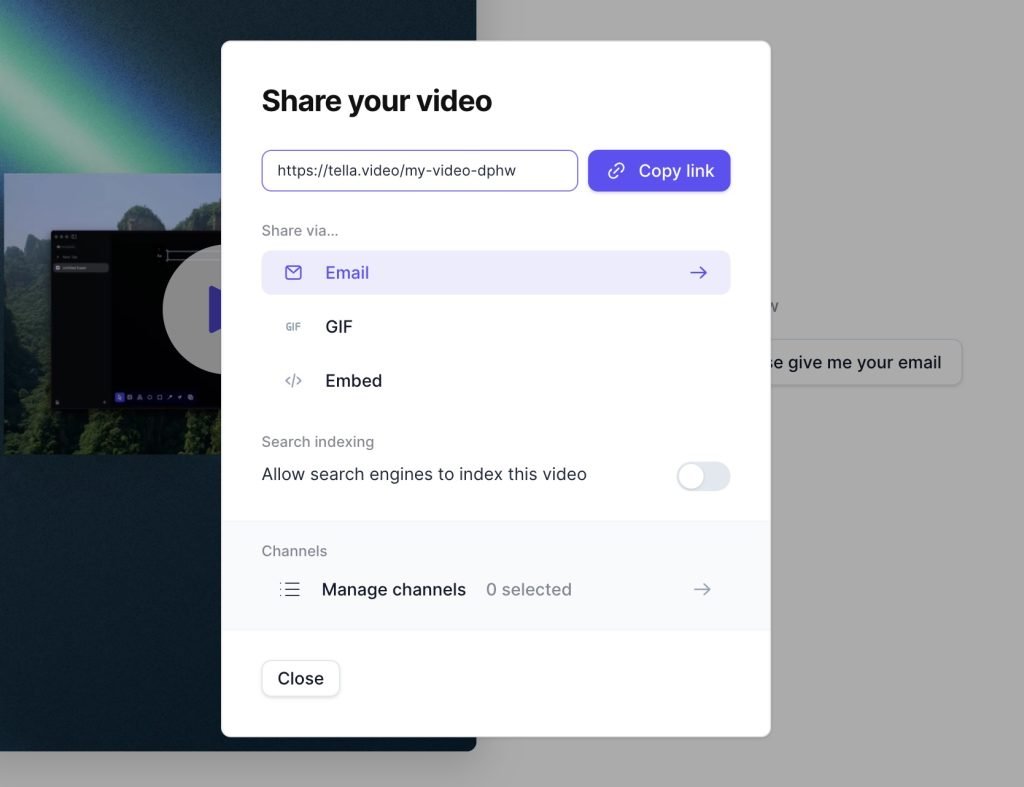
After hitting finish, you get the share screen which you can customise with links for your call to action. You can also let search engines index the video, which I thought was a great touch for anyone in SEO, or looking for places to publish outside of YouTube.
After sharing with a link, I opened an incognito browser to see how my window recording would look for an end user, and I thought it was simple/not cluttered. I appreciated that it pulled the favicon from my website on my call to action.
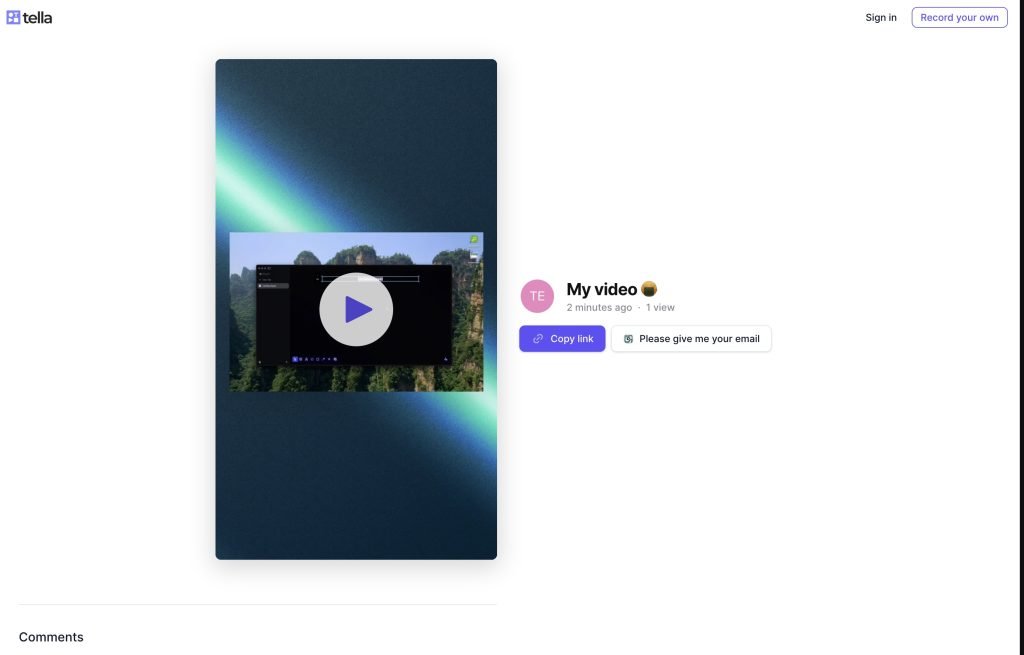
That’s it! I was able to setup and record a window within about 5-10 minutes (excluding download/login time). Really simple tool, and solid if I ever need to share a video with a link quickly in the future.
Another aspect I didn’t mention was that upload time felt near-nonexistent. I never noticed a portion of time where I had to wait for upload or processing.
Hope this review helps your purchasing decision! It would be heavily in the running if I was considering my business options for team screen sharing and screen recording. Empowering any of my employees with the ability to send quickly edited videos to clients for $15/mo each seems like a no brainer.
As other companies start using AI in their emails, I can have my team start to send an even more personal touch? Easy choice for me.
If you enjoyed reading, I’d appreciate if you buy through my referral link here, it gives me a bit of money in exchange for the time I spend on this website:
If you don’t want to, no worries, wishing you the best of luck as you screen record!

